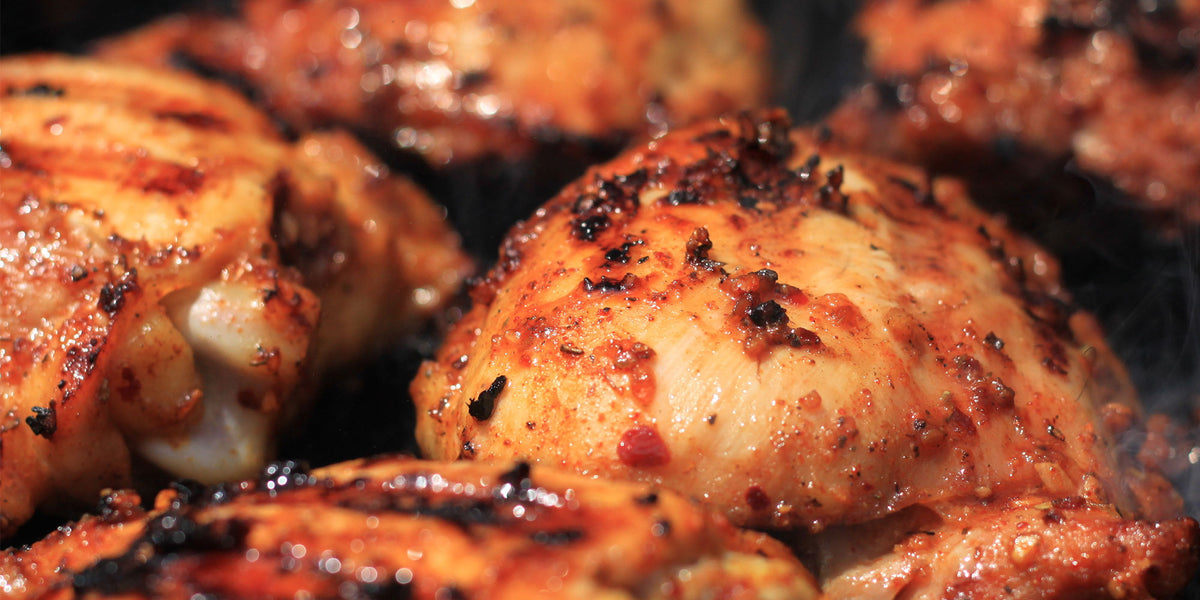
How to Cook Delicious, Juicy Chicken on the Grill
Article at a Glance:
- A timer and meat thermometer are inexpensive tools that will help you make perfectly moist chicken.
- Have fun experimenting with different marinades, spices, and recipes until you find your favorites.
- Chicken breasts will cook faster and more evenly if you butterfly them (cut in half horizontally and open like a book) and pound them to an even thickness.
- Cook breasts and wings over direct heat; thighs and drumsticks are better if you cook them with indirect heat after using direct heat to give them a nice sear.
Summer is officially here! And that means outdoor grilling. We love the flavor of the grill and look for any excuse to use it—trying a new recipe, hosting a party (party of one is a party!), or keeping the extra heat out of the kitchen.
We know there are plenty of expert grillers out there. But for those of you who are starting your grilling journey or want to step up your game, here are some tips for grilling chicken to juicy, tender perfection.
Essential Tools
In addition to a grill and its appropriate fuel, the other essential grilling tools are a timer, meat thermometer, and quality tongs.
Flipping your chicken and taking it off the grill at the right time is critical to making moist, juicy chicken. A timer tells you when to flip it; an instant-read digital meat thermometer will tell you when the internal temperature reaches that magic number of 165° Fahrenheit.
A set of quality tongs will make it much easier to flip the meat and take it off the grill at the right time. You don’t need anything fancy, but it is worth it to spend a few more dollars to avoid struggling with a cheap set that fails right when you need it.

Chicken Prep
How you prep the chicken will depend on the cut, including whether it has the bones and skin, and how you decide to season it. In deciding what cut to buy, keep in mind that cooking times will be longer when the bones are in (bones help retain moisture and absorb some of the heat) and for thicker pieces.
Chicken thighs are the most forgiving because they are less likely to dry out. If you select boneless chicken breasts, you should butterfly them (slice horizontally and open them like a book) or pound them to create a thinner cut of equal thickness that will cook evenly and all be done at the same time. When pounding chicken, avoid a mess by putting it in a bag or covering it with something flexible before you start pounding.
Do not boil or precook the chicken if you plan to grill it! It may be tempting to precook or partially cook via microwave, boiling, poaching, blanching, etc., but don’t do it. If you boil it first, not only could you get rubbery chicken, but putting it on the grill will just dry it out. Pre-cooking also will prevent the chicken from absorbing flavors from the grill or other additional seasonings. If you’re in a hurry, choose cuts that cook faster (such as pounded boneless, skinless chicken breasts) rather than precooking.
As far as seasonings, there are LOTS of options—4 to 12-hour marinades, 30-minute brines, or seasoning just before cooking. Of course, we love Chef Shawn’s favorite Real Salt seasonings– organic season salt, lemon pepper, garlic pepper, and smoked salts–but there are lots of options. A quick Google search will bring you hundreds of delicious recipes you can try or use as inspiration for your own creations.
To Marinate or Not To Marinate?
It really depends on personal preference and whether you have time to let the chicken marinate. Recipes vary, but most marinades work best if you let them sit for at least 4 hours or overnight.
If you really want to use a marinade and don’t have four hours, you can poke the chicken with a fork to help the marinade penetrate and then marinate as long as possible. If you don’t have time to let it sit, there are lots of seasoning mixtures or rubs that will help tenderize the chicken and make it taste great.
Prep The Grill
Preheat the grill on medium heat, around 350-375° Fahrenheit. If cooking drumsticks or thighs with the bone in, divide your grill into direct and indirect heat zones by leaving one or more burners turned off or only putting fuel in half the grill.
Depending on your grill, it will take ten to fifteen minutes for it to reach the right temperature and give the grates the heat needed to cook the chicken. Many grills have built-in thermometers; if yours does not, or if you don’t trust the needle on your grill, you can get an inexpensive oven or grill thermometer that can sit inside your grill to help you monitor the temperature.
When the grill is hot, use a wire brush to clean the grates and scrape off any burnt food. You don’t need to grease your grill when cooking chicken, but you can lightly spray the grates with cooking spray after you’ve brushed them clean.
Grilling Chicken
With the grates hot and clean, you’re ready to start cooking. Gently shake any extra liquid or marinade off the chicken, place it on the grill over direct heat, close the lid, and start your timer. How long it needs to cook and whether you cook it completely over direct or indirect heat depends on the cut, thickness, and whether it has a bone.
A chicken breast that has been butterflied or pounded to an even thickness usually takes around 4-6 minutes per side over direct heat. Keep in mind that until you know how to exactly gauge cooking times, it may not need the same amount of time on both sides.
If you’re a beginner and cooking a pounded or butterfly chicken breast, flip it after 4 minutes and then use your meat thermometer to check the internal temperature at regular intervals so you don’t overcook it. Wings likely will take 9-12 minutes per side over direct heat. The FDA says chicken should reach 165°F; many chefs will remove it at just under 165°F and let it rest because the temperature will increase a little while it is resting.
For bone-in thighs and drumsticks, divide your grill into direct and indirect heat zones. Cook the chicken skin side down (if the cut has skin) over direct heat for 3-4 minutes on each side to give it a good sear. Then move it to the side with indirect heat and cook it for another 20-30 minutes. Beginners should check the internal temperature after 15 minutes and at reasonable intervals after that to keep an eye on the temperature. Don’t let the meat thermometer touch bone when you check the temperature and be sure to keep the lid closed whenever you are not actively turning or checking the temperature.
Let It Rest
When the chicken’s internal temperature reaches 165°F or slightly below, take it off the heat and let it rest for five minutes before slicing or serving it. This allows the fibers of the meat to relax and reabsorb the juices. If you immediately cut or bite into it, you’ll probably burn your tongue and the juices will spill out rather than being redistributed inside.

Do you have a favorite chicken recipe for the grill? Share them below!
Comments (1)

Hi Jackie,
I use the good ole George Forman griller. And I do mean old. It may be the first model George offered. It gives temperature setting of 1, HOT. I tried for the first time grlling chick thighs. It worked but 6 minutes made it dry.
Next time I plan to go 4 minutes, set them aside and unplug George. Make sense?
———
Redmond Life replied:
Thanks for the George Forman grill tips, David. Great option for when it’s snowy outside!


